Today in this article I will tell you how to plant onion bulbs. Onion is one of the most important vegetables used in the kitchen, which in turn fulfills our food requirements. Without it it is difficult to make delicious food. The special taste and smell of onion make it an important component of dishes. In this single article you will get all information about onions.
Often people buy onions from the market, but learning the process of growing them yourself can be a new addition to your garden. Nowadays, inorganic vegetables come in the market which have a bad effect on our health. Today, with the help of this article, you will learn how to grow organic vegetables at home.
This easy steps guide to growing onion bulbs will walk you through the entire development process, including proper bulb selection, planting, irrigation, and care. This process can help you get healthy and tasty onion yield.
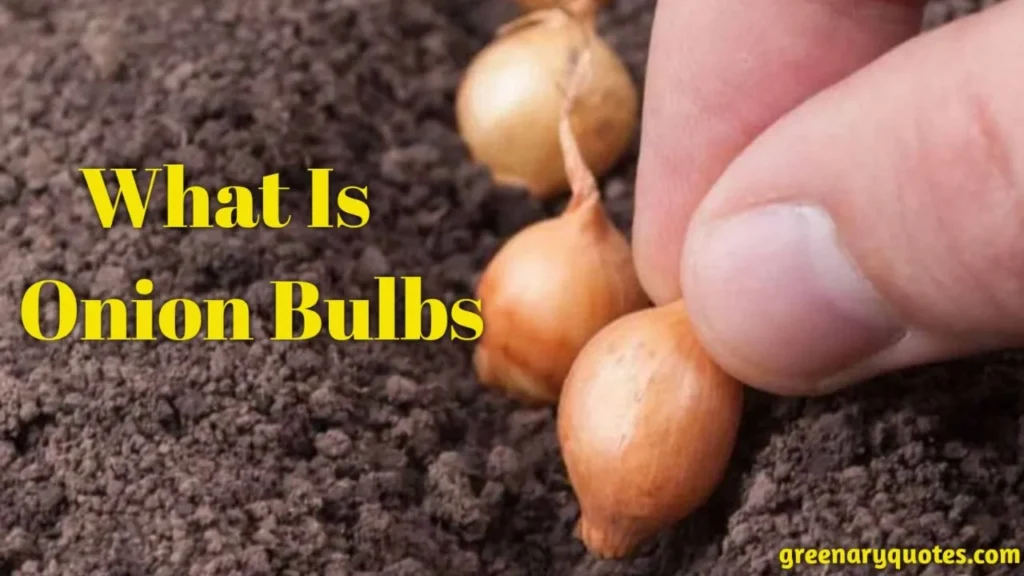
What Is Onion Bulbs
Onion is a very important food crop, the bulb of which is usually eaten. Its scientific name is ‘Allium cepa’ and it is a member of the Lilium family. Onion bulbs are made up of dark green leafy segments that look like they’re hidden in a tasty pouch.
It is often tied to sticks or sticks in large rings on the pouch, like a pyaja party boss. Its outer leaves are green and yellow, which can sometimes look like a colorful daybed.
The quality and flavor of an onion bulb depends on its type and ripening style.
Many nutritious things are found in this onion bulb like – potassium, iron, vitamin C, folic acid and fiber which are very important for your body.
Best Onion Varieties For Planting
Below is a list of some varieties that are preferred by experienced farmers for their good growth and taste.
Long Day Onion Varieties:
- Texas 1015Y Onion: This sweet and mild onion variety is a favorite among farmers and gardeners alike. Its also known for its big size and flavor.
- Walla Walla Onion: Hailing from Washington state, Walla Walla onions are renowned for their sweet and juicy taste. They grow in big size and fresh to eating .They give a nice crunch when you put them in sandwiches or burgers.
- Ailsa Craig Onion: Farmers often recommend this onion variety for its jumbo size and mild flavor.
- Yellow Sweet Spanish Onion: A classic favorite, the Yellow Sweet Spanish onion is well-suited for cooking and caramelizing due to its mildly sweet flavor.
- Rossa di Tropea Onion: This Italian gem is a farmer’s choice for its unique torpedo shape and sweet taste. This type of onion variety is very perfect for roasted dishes.
Short Day Onion Varieties:
- Redwing Onion: Farmers specialy recommend this type of varieties because Farmers love the deep red color and bold flavor of the Redwing onion. Ever tried this awesome onion in your salads, salsas, and dishes? It adds a splash of color and a dash of delightful flavor. Your taste buds are in for a little surprise – it’s like a party for your palate!
- Copra Onion: If you are looking for such an onion variety that you can store for a long time, then this variety will be perfect for you because you can store it for a long time and its taste also remains intact. its favorite for farmers.
- Evergreen Hardy White Onion: Farmers in colder climates often swear by the Evergreen Hardy White onion.
- Australian Brown Onion: With a rich and full-bodied flavor, the Australian Brown onion is highly regarded by farmers.
- Pontiac Onion: This red onion variety is cherished for its balanced flavor and vibrant color.
When To Plant Onion Bulbs
For spring planting, bring onion sets outdoors as soon as the soil becomes manageable, usually late March or April, when temperatures are at risk of falling below 28°F (-2°C). It happens.
Start nurturing onion seeds indoors about 6 weeks before transferring onion seeds to outdoor soil for spring planting, best done when soil temperatures reach a minimum of 50°F.

If you want to sow onions in autumn, it requires a period of 4 to 6 weeks, which requires high temperatures. During the entire cold period, they remain dormant and re-awaken as both temperature and soil warm during the spring mornings.
The month for planting varies based on your specific growth zone
Ensure your soil is workable and free from frost. Should a possibility of freezing weather loom post-planting, safeguard them with a layer of straw mulch.
I chose January for planting my onions. Late January witnessed my endeavor to cultivate a crop on our newfound South Carolina farm. The weather graced us with perfection, only to be succeeded by an abrupt, harsh cold spell. While my onions managed to survive, come spring they exhibited an eagerness to reproduce.
How To Prepare Onion Bulbs For Planting
There are five easy steps for preparing onion bulbs for planting if you follow these steps then I promise! You will get better results.
1. Selecting Quality Bulbs:
The first and important step in preparing onion bulbs for planting is selecting top-quality ones. If you choose good quality onion bulb then you will get better results. Opt for large, firm bulbs that are free from any signs of disease or damage. These healthy bulbs serve as the foundation for robust plant growth. A keen eye for quality ensures that your onion crop gets off to the best possible start.
2. Curing Bulbs:
Before planting, allow your chosen onion bulbs to cure for a few days. Find a cool, dry area with good ventilation to let the bulbs dry out effectively. This curing process prevents rot during storage and planting. Patience during this stage pays off in the long run, as properly cured bulbs contribute to the overall success of your onion cultivation.
3. Trimming and Cleaning:
To ensure the health of your onion crop, it’s essential to give each bulb proper attention. Trim the roots and remove any dried or damaged outer layers, leaving around an inch of roots intact. This meticulous cleaning process eliminates potential disease sources and paves the way for strong, disease-free plants to develop.
4. Size Sorting:
Achieve uniformity in your onion bed by sorting the bulbs by size. Grouping bulbs of similar size together promotes even growth and facilitates management during the growing season. This thoughtful approach to planting sets the stage for a harmonious and visually appealing onion patch. This is very important step according to the farmers.
5. Optional Pre-Planting Treatment:
Some seasoned growers opt for a pre-planting treatment step. Soak the onion bulbs in a solution of water mixed with liquid seaweed or a weak compost tea. This step provides an early nutrient boost and can help reduce transplant shock. While optional, this nurturing touch can potentially enhance the overall vitality of your onion plants.
Important Equipment And Tools For Planting Onions
Before planting onions, you all must have some important tools and equipment which will make your journey easier.
Important Equipment:
- Wheelbarrow or Garden Cart: Transport compost, soil amendments, and tools efficiently, reducing strain on the body and streamlining the planting process.
- Watering Can or Hose: Provide consistent and appropriate watering to onion plants, promoting healthy growth and development.
- Mulch (e.g., straw or hay): Conserve moisture, suppress weeds, and regulate soil temperature with organic mulch, creating ideal growing conditions.
- Row Covers or Netting: Shield onion plants from pests and adverse weather conditions during vulnerable stages, ensuring a protected and thriving crop.
- Sun Hat and Sunscreen: Protect against sunburn and heat exhaustion while working outdoors for extended periods, ensuring your well-being.
- Kneeling Pad or Garden Stool: Ensure comfort while planting and caring for onions close to the ground, minimizing strain on knees and joints.
- Spray Bottle: Utilize a spray bottle with a mild solution of water and liquid seaweed for gentle foliar feeding, boosting initial onion growth.
- (Optional): My recommendation is you must have a energy drink, It depends on your health conditions.
Important Tools:
- Hand Trowel: Plant individual onion bulbs precisely at the right depth and spacing, minimizing bulb and soil disturbance.
- Garden Hoe: Prepare the planting bed by breaking up soil, removing weeds, and creating well-spaced rows for onion planting.
- Rake: Level soil and create a smooth planting surface by removing debris, rocks, and clumps, promoting even onion growth.
- Measuring Tape or String: Ensure uniform bulb spacing and row distances for optimal onion development and overall visual appeal.
- Pruning Shears: Aid in thinning onion seedlings if necessary, allowing for sufficient spacing and robust growth.
- Garden Gloves: Protect hands from dirt, cuts, and disease transmission, ensuring comfortable and safe planting and care.
Best Fertilizer and Compost:
- Fertilizer: Choose a balanced fertilizer with a formulation like 10-10-10 or 14-14-14 to provide essential nutrients for healthy onion growth. Follow soil test recommendations for accurate application.
- Compost: Incorporate well-rotted compost into the soil to improve its structure, water-holding capacity, and nutrient content, enhancing the overall health of your onion plants.
How To Plant Onion Bulbs
Planting onions is very easy if you follow these eight easy steps you will learn how to plant onion bulbs.
1.Choosing the Right Onion Variety:
Successful onion planting starts with selecting the best variety. Consider your climate, whether it’s mild or cold, and your preference for sweet or pungent flavors. Consult local experts or nurseries for advice on varieties that thrive in your region. Tailoring your choice to your environment ensures a higher chance of a productive and flavorful onion crop. If you want to understand in detail that which variety will be right, then I have already explained it in detail above. You can easily choose a good onion variety by reading it.
2.Selecting the Planting Time:
Timing is critical for onion success. In cooler regions, opt for fall planting to allow bulbs to establish before winter. In warmer areas, spring planting is preferable to avoid cold snaps. Be aware of your local frost dates and soil temperature, as onions need the right conditions to develop strong roots and bulbs.
3.Preparing the Soil:
Soil preparation lays the foundation for healthy growth. Work in well-rotted compost to enrich the soil with nutrients and improve its structure. Break up clumps and remove rocks, ensuring a smooth bed for planting. Adequate soil drainage is crucial to prevent waterlogged conditions that can lead to rotting.
4.Planting onions:
Proper planting technique encourages robust growth. Place onion bulbs in the soil at a depth of around 1 inch, with the pointed end facing upward. Maintain spacing of 4-6 inches between bulbs to allow room for expansion. Gently firm the soil around each bulb to secure them in place and ensure good soil-to-bulb contact.
5.Watering:
Consistent moisture is vital, especially during the early stages. Provide deep watering, allowing the soil to dry slightly between watering sessions. Avoid overwatering, as onions dislike soggy conditions. Mulching can help retain soil moisture and regulate temperature, contributing to healthy onion growth.
6.Thinning and Weeding:
As onion seedlings emerge, thin them according to the recommended spacing. This prevents overcrowding and competition for nutrients. Regularly weed the onion bed to eliminate unwanted plants that rob moisture and resources. A weed-free environment promotes strong onion development and minimizes disease risks.
7.Fertilizing:
Onions have specific nutrient needs for optimal growth. Apply a balanced fertilizer based on soil test results or local recommendations. Side-dress with additional fertilizer as the plants grow, but avoid excessive nitrogen, which can lead to excessive foliage growth at the expense of bulb development. Farmers always recommend 10-10-10 or 14-14-14 fertilizer because its provide essential nutrients for healthy onion growth.
8.Harvesting:
A well-timed harvest ensures the best flavor and storage potential. Wait until the onion tops turn yellow and start to fall over naturally. Carefully lift the bulbs from the soil, avoiding damage. Allow the onions to cure in a well-ventilated area for a week or two before storing them in a cool, dry place for future use in your culinary endeavors.
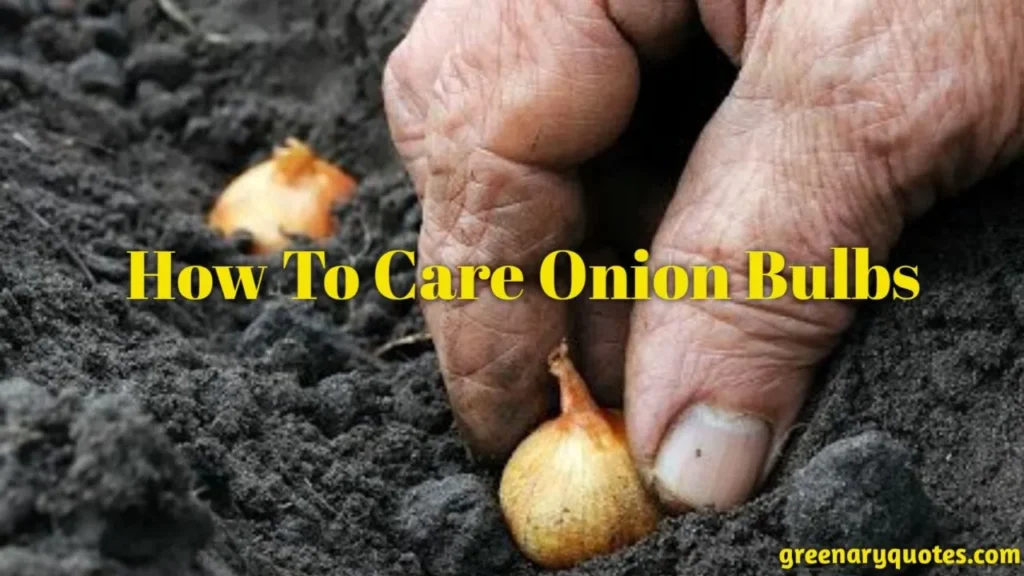
Onion Bulb Care
Here I am share my experience how to care onion bulbs. According to my experience if you follow these steps then definitely you will get your result, what you wanted.
1.Regular Watering:
Onions require consistent moisture to thrive. Adequate watering, especially during dry spells, prevents stress and encourages even bulb development. Be mindful not to overwater, as soggy soil can lead to disease.
2.Weeding and Mulching:
Keeping the onion bed free of weeds is essential, as weeds compete for nutrients and water. Applying a layer of mulch, such as straw or hay, suppresses weeds, conserves moisture, and moderates soil temperature.
3.Thinning:
If you’ve planted onion sets or seedlings too close together, thinning is necessary to ensure proper spacing. This allows bulbs to expand fully and reduces the risk of disease by improving air circulation.
4.Pest and Disease Management:
Everyday inspect your onion plants for signs of pests or diseases. Act promptly if issues arise, employing organic or integrated pest management techniques to minimize damage.
5.Fertilization:
Providing onions with the right nutrients is essential for robust growth. Side-dress the plants with balanced fertilizer as they develop, following soil test recommendations to avoid over-fertilization.
6.Monitoring Growth:
Keep an eye on your onion plants as they progress. Adjust care based on their growth rate, and be ready to adapt to changing weather conditions or other environmental factors.
7.Harvesting at the Right Time:
Timing is crucial for a flavorful harvest. When the onion tops start to yellow and fall over, it’s an indicator that they’re ready to be lifted. Carefully dig the bulbs out of the soil and allow them to cure before storage.
Onion Growth Stages
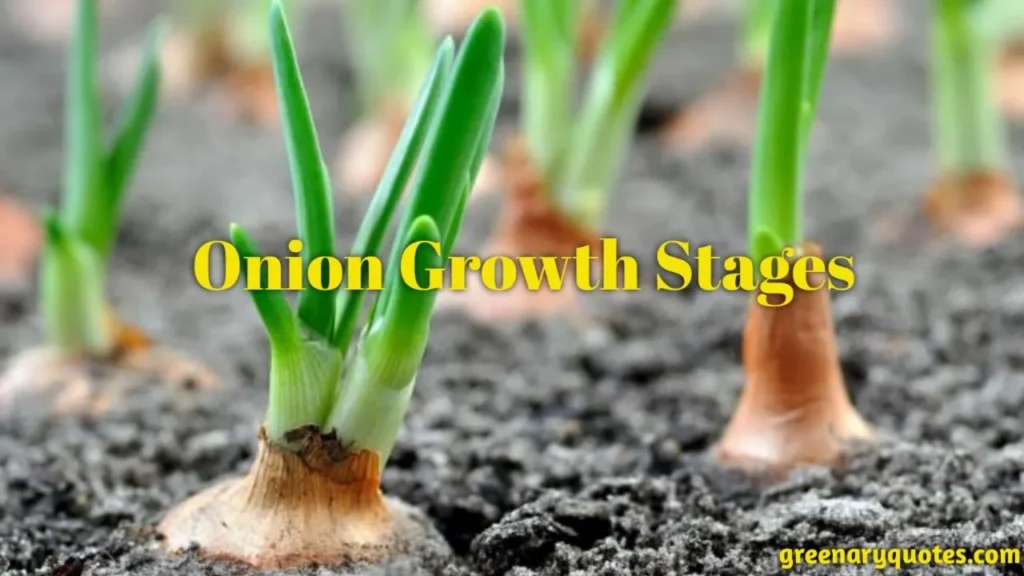
There are seven stages of onion growth.
1.Germination
After planting, onion seeds start germinating within 7 to 10 days, depending on temperature and moisture conditions. During this stage, keep the soil consistently moist to facilitate seedling emergence.
2.Seedling Development
Over the next 4 to 6 weeks, onion seedlings grow their first set of true leaves.
3.Bulb Initiation
As the days lengthen, onion plants transition to forming bulbs. This typically happens around late spring to early summer. In this stage it needs proper sunlight and moisture for better bulb development.
4.Vegetative Growth
Following bulb initiation, onion plants enter a period of active foliage growth. Fertilization, Regular weeding, and pest management It helps to maintain healthy leaves, bulb size and bulb quality.
5.Bulb Enlargement
Onions continue to increase in size during this stage. Fertilization and proper watering is very important for better bulb growth. Mulching, It can helps to maintain soil temperature and moisture levels.
6.Bulb Maturation
As the growing season progresses, onion tops start to yellow and weaken. This is the signal that the bulbs are reaching maturity. Monitor closely, as the timing of harvest depends on the desired storage duration and usage.
7.Harvesting
When onion tops are mostly yellow and start falling over, it’s time for harvest. Carefully lift the onion bulbs from the soil and keep them in a fully ventilated area for 1 or 2 weeks.
How To Harvest Onions
Onion harvesting is very simple for everyone. If you follow these seven steps then you successfully harvest you onions –
a. Observe Tops
Monitor your onion plants closely as their tops start to yellow and weaken. This is a visual cue that the bulbs are reaching maturity and are ready for harvest.
b. Choose the Right Time
Timing is crucial. Aim to harvest when about 50-75% of the tops have turned yellow and fallen over. This balance indicate onion bulb size and this is the best time for harvesting onions.
c. Prepare the Area
Before harvesting, clear the area around the onion plants. Gently remove any mulch, weeds, or debris to facilitate easy access to the bulbs.
d. Loosen the Soil
Carefully use a garden fork or a hand trowel to loosen the soil around the bulbs. Avoid damaging the bulbs or slicing through them with the tools.
e. Lift Gently
Grasp the tops of the onions and gently lift them from the soil. If the soil is still tightly compacted, you can use the fork to lift the bulbs with minimal disturbance.
f. Dry and Cure
After lifting, place the onions in a well-ventilated area, such as a shaded spot or a dry garage. Allow them to cure for a one or two weeks.
g. Trim and Clean
Once cured, trim the tops of the onions to about an inch above the bulb. Remove any loose dirt or debris, but refrain from washing them.
Storing Harvested Onions
Proper storage of onions is a very important step. Correct storage determines the quality of onion in future. How to store your onions is explained below step by step-
1. Curing and Drying: After harvesting, allow your onions to cure in a well-ventilated, dry area. Spread them out in a single layer to encourage air circulation. Curing toughens the outer layers, preparing them for storage.
2. Trimming: Once cured, trim the tops of the onions, leaving about an inch of stem. Remove any loose dirt, but avoid washing the onions, as excess moisture can lead to spoilage.
3. Sorting: Examine each onion for signs of damage, disease, or soft spots. Separate any onions with these issues from the healthy ones, as damaged onions can accelerate spoilage of the entire batch.
4. Choosing the Right Storage: For short-term storage (a few weeks), store a portion of your onions in a cool, dry, and better ventilated area like as kitchen cabinet. For longer storage (up to several months), opt for a dark, cool, and dry location with consistent temperature and humidity, such as a basement or root cellar.
5. Proper Containers: Store onions in mesh bags, nylon stockings, or shallow crates because these containers are the best for air circulation.
6. Avoiding Moisture: Keep onions away from areas with high humidity, as moisture can lead to rot. Ensure good airflow around the stored onions to maintain their freshness.
7. Regular Inspection: Periodically check your stored onions for any signs of sprouting, softening, or decay. Remove any affected onions promptly to prevent the spread of issues.
8. Isolating Varieties: If you’ve grown different onion varieties, store them separately. Each variety may have a different storage life, and storing them together might cause faster deterioration.
9. Usage Priority: Use the onions with the shortest shelf life first, as they are likely to spoil sooner. Now you can enjoy your homegrown harvest.
Health Benefits Of Onions & Home Remedies

There are many health benefits of onion.
Health Benefits of Onions-
- Rich in Nutrients
- Antioxidant Properties
- Heart Health
- Anti-Inflammatory
- Cancer Prevention
- Digestive Health
Home Remedies Using Onions-
- Cough Relief
- Fever Reduction
- Insect Bites
- Burn Treatment
- Hair Health
- Skin Issues
- Detoxification
- Nasal Congestion
- Blood Sugar Regulation
FAQs about how to plant onion bulbs –
How long does onion take to grow?
Onions typically take around 90 to 120 days to reach full maturity from the time of planting. However, this is totaly based upon onion variety, local climate, soil conditions, and growing practices. Short-day onions variety mature faster, while long-day varieties may take longer to develop.
How to plant an onion set?
Planting onion sets is simple and rewarding. Choose a sunny spot with well-draining soil. Plant sets pointy side up, around 1 inch deep and 4-6 inches apart in rows. Water gently after planting, and maintain consistent moisture. As they grow, thin if needed. Harvest when tops yellow and fall over. By following these steps you successfully plant onion sets easily.
How to plant a sprouting onion?
To plant a sprouting onion, select an onion with a visible sprout. Plant it in well-draining soil, leaving the sprout above the soil. Water regularly and provide sunlight. As the sprout grows, it will develop into a new onion bulb.
Do you soak onion bulbs before planting?
Yes, soaking onion bulbs before planting is a common practice for some gardeners. If you do this perfectly, It can help encourage root development. Soaking in a solution of water and liquid seaweed or a mild compost tea for about 30 minutes can provide a beneficial nutrient boost, but it’s optional and not always necessary.
How deep do you plant onion bulbs?
Onion bulbs are normaly planted at a depth of around 1 inch (2.5 cm) in the soil. A proper depth decided good onion growth and establishment and also a proper spacing between onion bulbs is decided perfect onion growth.